Click here for a full list of all the lamps on a fortwo.
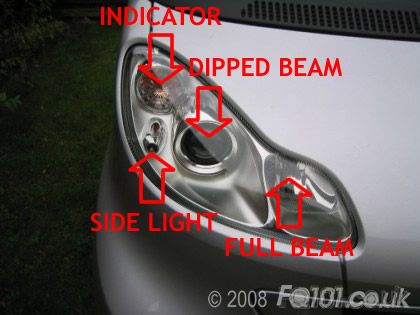
This is a job which smart will charge you a fortune to do. This guide will tell you how to replace all the lamps in the cluster so just pick the section relevant to your needs. The headlight cluster is made up of 4 lamps. Their locations from the front are shown as follows:
Open the bonnet guide here.
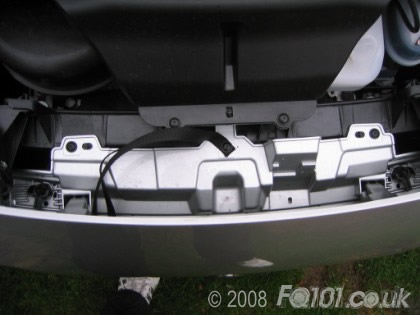
The 451 ia a lot more convenient to access the rear of the lights.
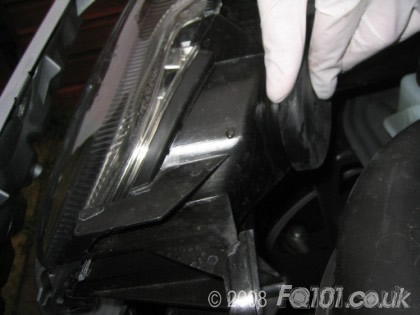
Select the bulb to change from the following steps.
Ensure that after changing the main or dipped bulbs, that you ensure the alignments are correct.
Step 1 - Indicators...
The indicator is the upper most bulb on the outside of the panel.
The bulb is mounted in a big twist holder.
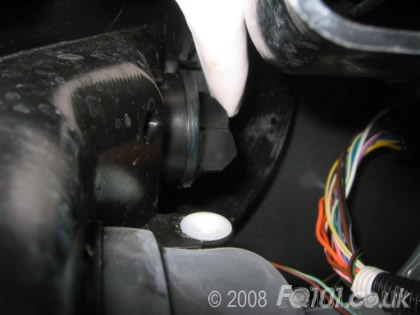
Twist the holder about 30 degrees anti-clockwise, and the holder will release. You may need a little force to over-come the seal on the holder.
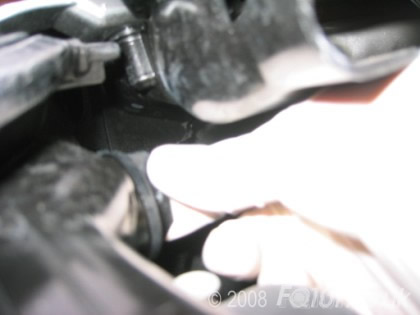
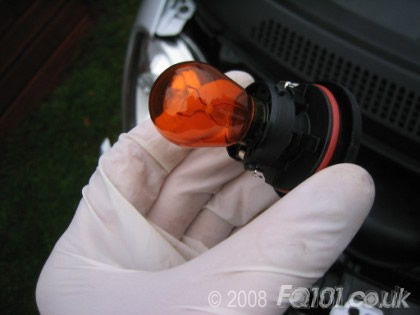
The actual bulb has a standard bayonet fitting into the holder. Replace as required.
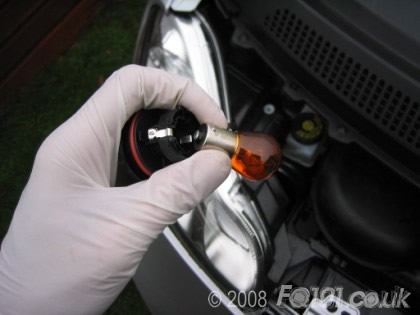
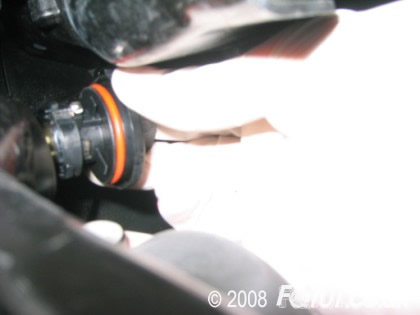
When refitting, ensure the holder is tight in the headlamp unit.
Step 2 - Side Lights...
The side lights in the 451 have been designed to make changing them easier, but in reality their design can still prove troublesome!
They are located in the bottom 'corner' nearest to the panels.
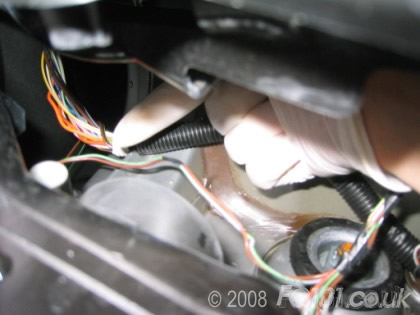
The side lights are mounted at the end of a long 'stalk' which is supposed to reduce the amount of 'flexing' you make your hand do!.
In reality, the stalk itself has flex in it, which means that you need to twist the stalk even harder to release.
Twist the stalk anti-clockwise by about 50 degrees (including flex).
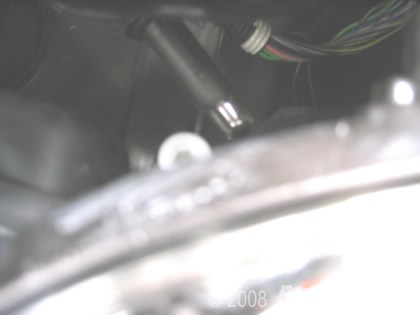
Remove the side light on the stalk.
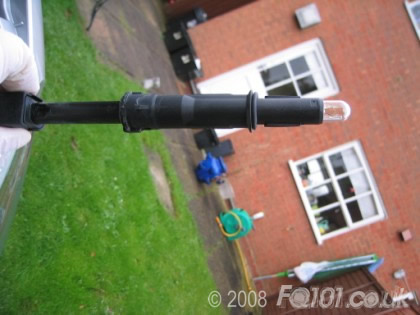
The side light bulb is a standard 501 push fit, remove and replace as required.
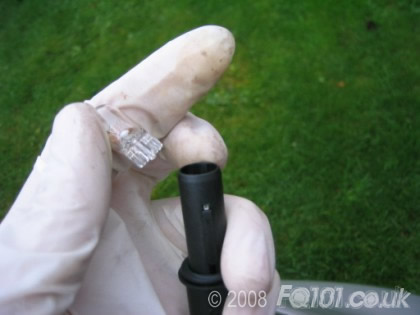
Carefully push the side light back into the housing watching the front lens to ensure that it's located properly.
Twist clockwise to lock back in place.
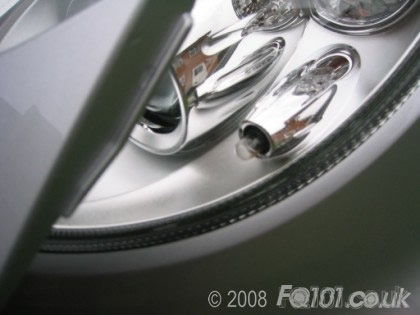
Step 3 - Main Beam...
The main beams are the innermost bulbs.
Remove the simple rubber cap from the back of the unit.
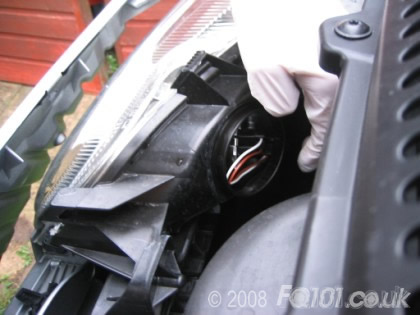
Pull off the power cables from the back of the bulb.
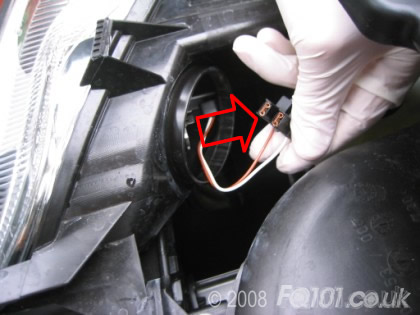
The 451 now has a new fitment style to secure the bulb in place.
There are now no 'hooks' to undo, you simply pull on the bulb - it will release from 3 spring clips on its own.
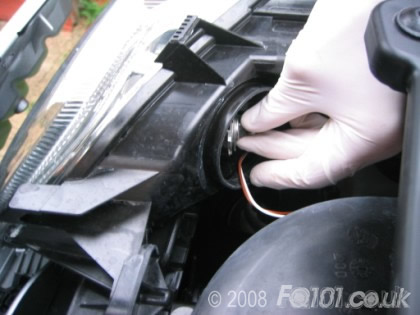
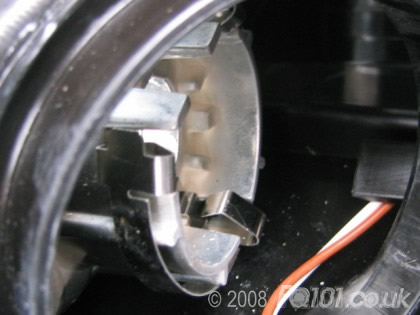
Replace as required.
When refitting ensure that you push the bulb in securely, so that all 3 spring clips are used.
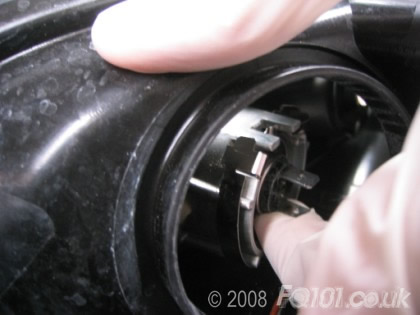
Refit the wires, and firmly press the cap back into place.
Step 4 - Dipped Beam...
The dipped beams are the central bulbs.
Remove the rubber cap from the back of the unit.
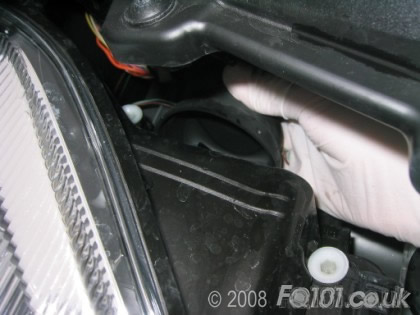
Unplug the connectors from the back.
The dipped bulbs have the conventional bulb retaining springs as found in the original fortwo.
Push the spring clip down and clockwise by about 5 degrees.
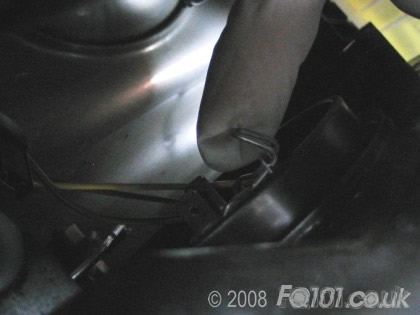
Remove the bulb from the fitting.
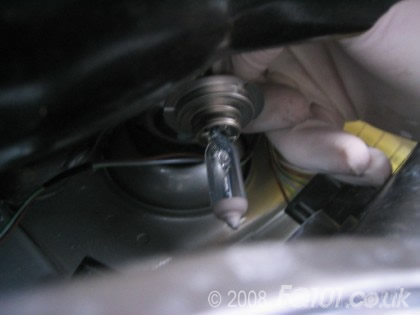
Replace the bulb as required, refit the spring clip and the connectors.
Refit the cap and test.


