There is a lot of debate on which cars these can be fitted to using this guide. Many of the early Roadsters do not have the wiring already in place to easily connect the pods. We have found wiring to be on a March 2004 Roadster but not on another of the same age. To dispel one myth - you do not need to get your smart dealer to activate these with a TAN code. All you pay is the price of the pods.
There are two methods to installing the pods. If you have a trip computer then the method is more straightforward. If you don't, then you will need to ensure that you have the appropriate adaptor cable.
Before installing the pods, you may wish to swap the position of the boost and temperature guages. More information on this cane be found here.
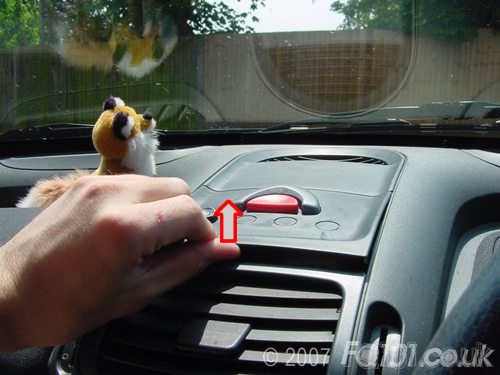
Start by removing the safety island.
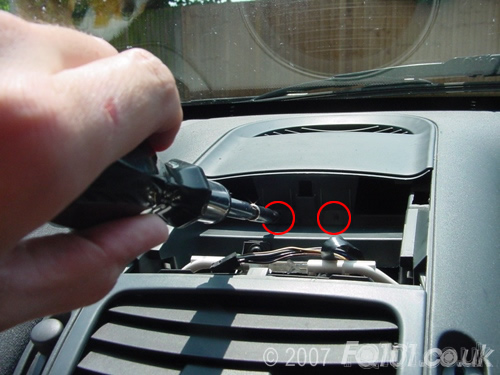
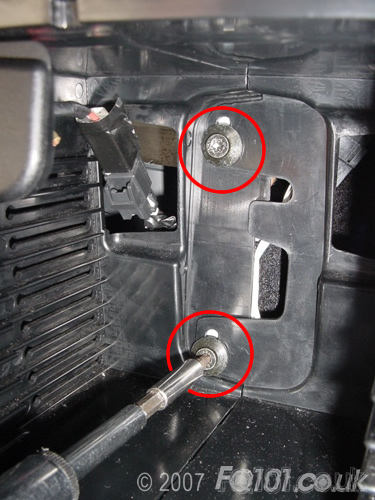
Removing the wiring and place the island safely out of the way. Unscrew the two screws that secure the blanking plate in with a TX15 bit.
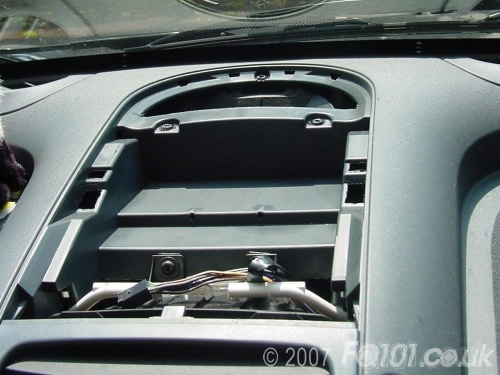
Pull the blanking plate up from the dash. It is secured with four spring clips on each corner.
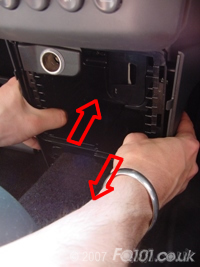
Remove the radio by using the removal clips provided by smart in the instruction wallet.
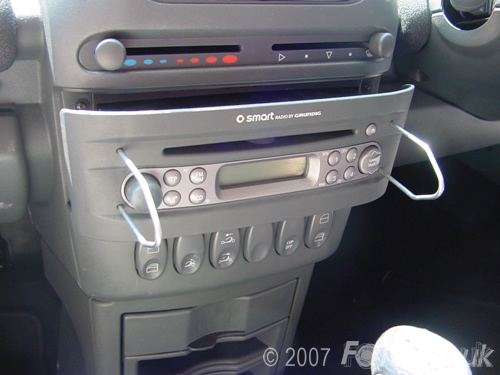
Before disconnecting the radio, check to see if you have the radio code. You can work with it plugged in but it makes it much easier if you remove it totally.
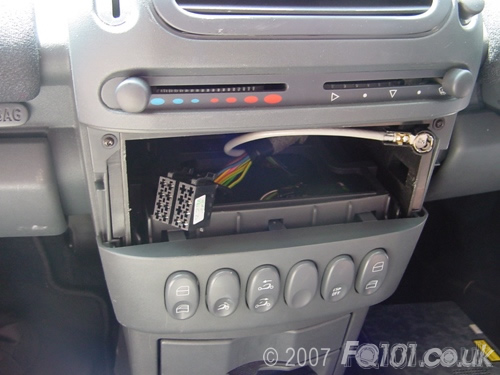
The buttons panel removes as shown. If you have the trip computer, remove it in the same way.
If you don't have the trip computer:
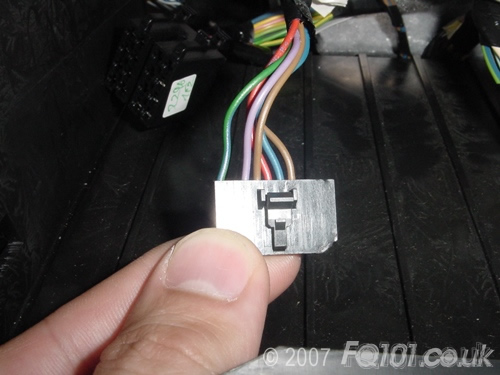
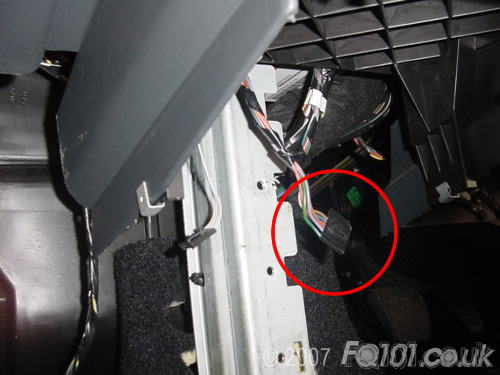
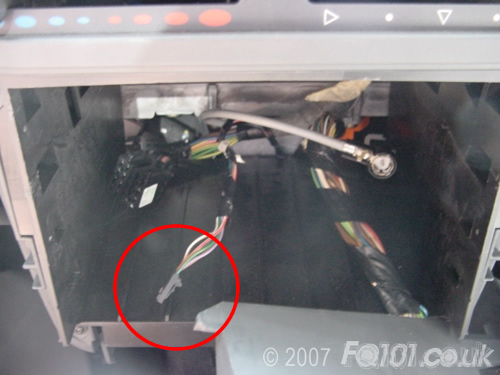
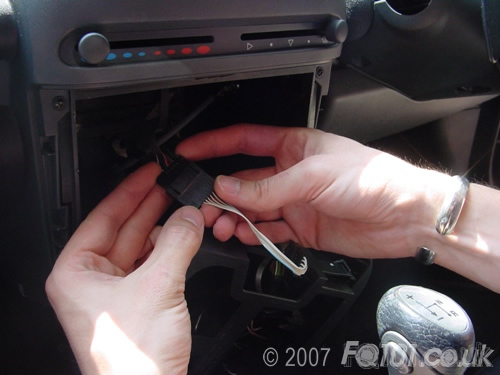
With the radio and button frame removed, have a look in the area behind. You are looking for a connector shown below.
If you can find it then you are in luck. If not, then you need to remove more of the centre console.
If you can't find the connector:
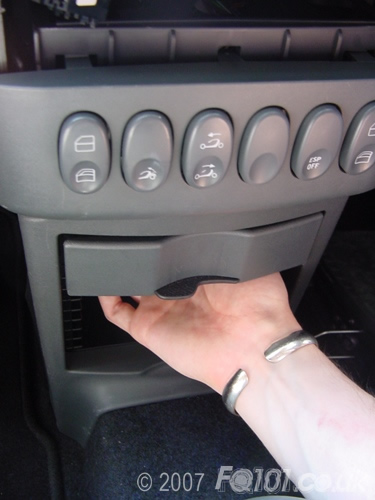
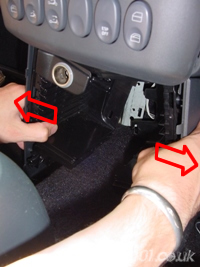
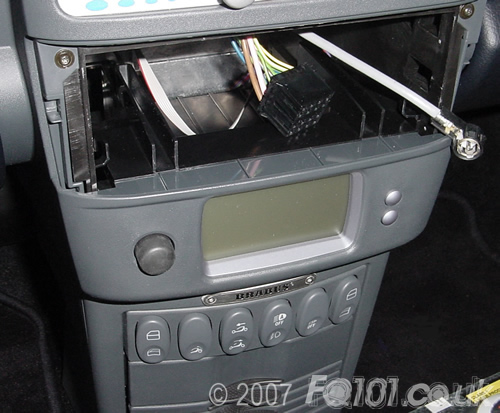
Remove all of your accessories. The shelf units just pull out as shown.
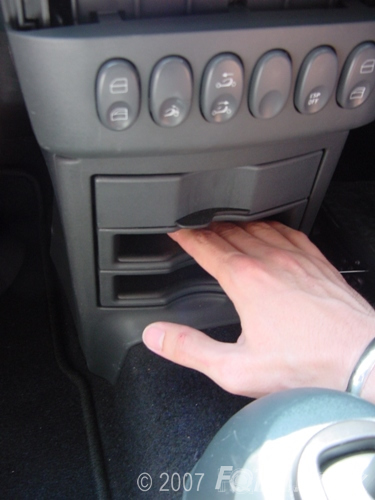
To remove the ashtray, reach behind it and feel around for a thin bar. Pull that forward and the whole unit will come free.
Remove the surround by pulling it at the edges. The button unit above needs to be free to do this. You will notice that this reveals a screw. Undo this with a TX15 bit.
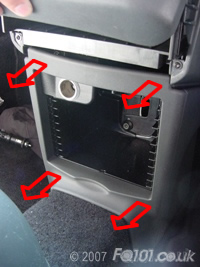
Using a TX30 bit, unscrew the retaining screws that hold the lower section in place.
The lower section itself needs splitting in two before it will come free. Whilst holding the left side, pull the right side towards you. It will move by about 5mm. Both sections will now come away from each other.
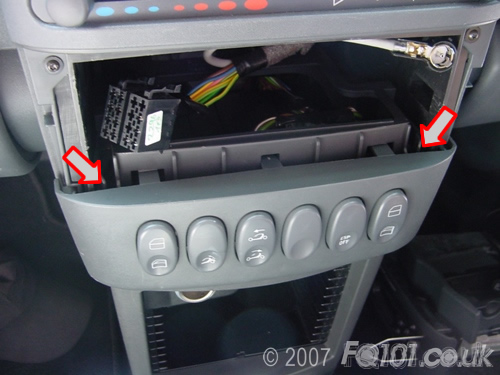
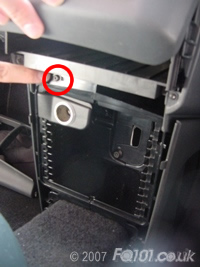
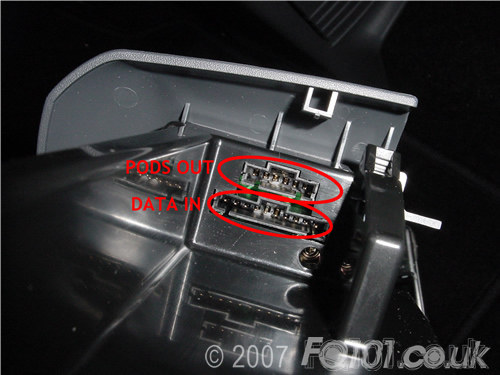
Have a look around for the connector. In this case, it was found hanging at the back.
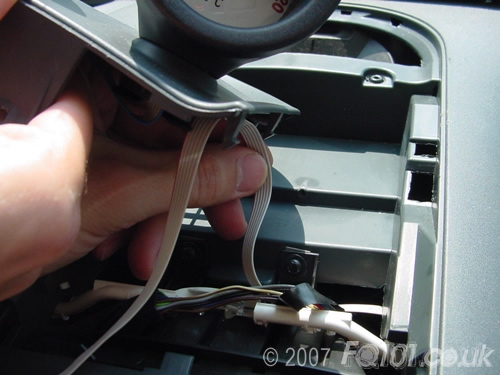
Move this connector from the lower level to the upper compartment as shown below. This is not necessary but it will minimise the chance of trapping the pod cable when the lower section is reassembled.
Reassemble the lower section and refit all the accessories. Start with the ashtray as this is the most temperamental.
Assembly:
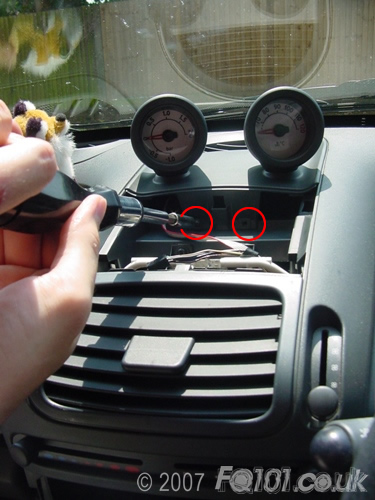
Take the pods and feed the cable down through the top into the section behind the radio.
Push the pods in place and secure with the two screws that were removed from the blanking panel.
Reconnect the safety triangle and clip back in place.
If you don't have a trip computer:
Fit the adaptor to the end of the pod cable.
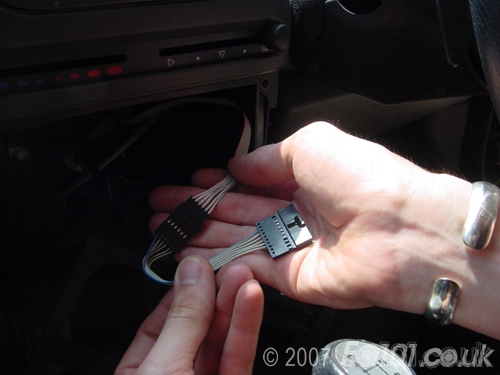
Connect the other end into the free connector found earlier.
If you do have a trip computer:
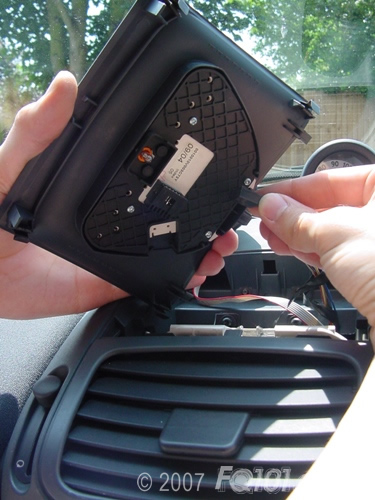
Plug the pods into the back of the trip computer.
Fit the computer back in place.
Refit the radio and enter the code. Start up the car.
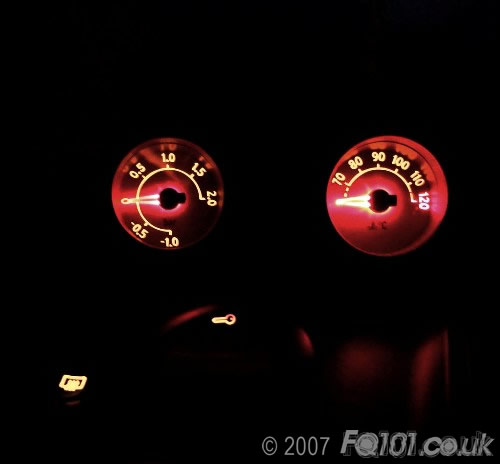
You should notice the boost gauge needle drop to -1.0 then settle around -0.6 whilst the engine is idling. The temperature gauge will not do anything until the car is warm. Check that the backlights come on when you turn your sidelights on.