Wheel bearing failure can be catastrophic so it is important to change them when you first start experiencing problems. Typical symptoms include, but are not limited to, the following:
- Rumbling sensation when braking or driving along.
- Excessive noise from the wheels when braking.
- Poor handling when braking.
- Knocking or rumbling when cornering.
To check your wheel bearings, jack up the front of the car and grasp the wheel at the top and bottom. Rock the wheel back and forth and look for play in the bearing.
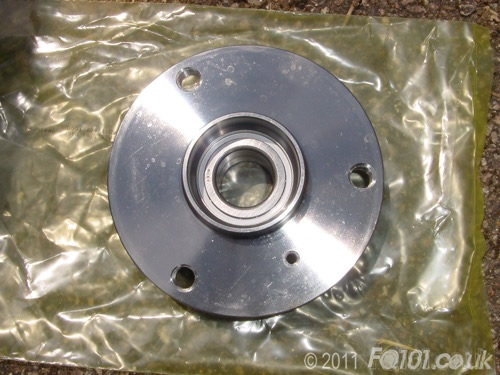
In this guide, we are going to replace the wheel bearing and hub assembly (complete with ABS ring). The front hub assembly is available from smart at a cost of around £50.
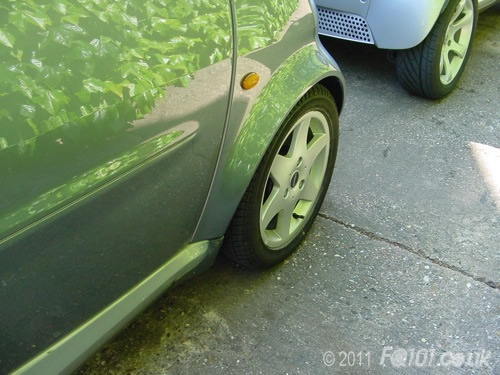
To replace the hub assembly, slacken the wheel bolts, jack up the front of the car and remove the wheel.
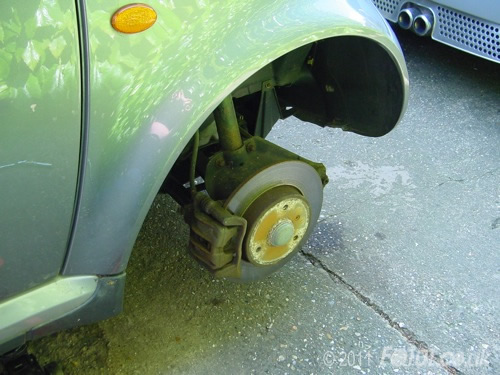
To access the hub, you need to remove both the brake caliper and the brake disk.
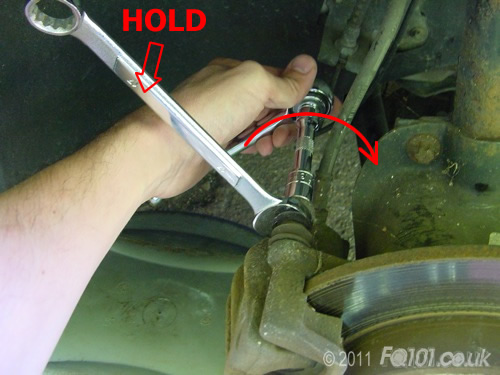
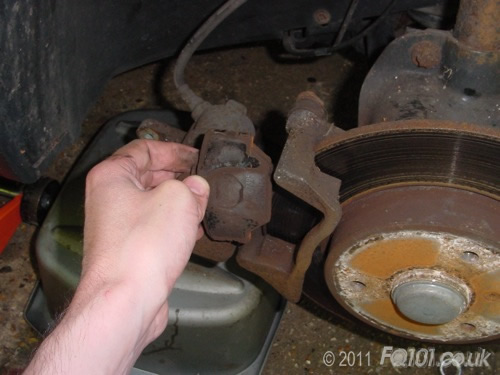
Start by removing the brake pads. Use a 17mm spanner and hold the top piston as shown. Use a 13mm socket to remove the bolt on the back of the caliper.
With the bolt removed, swing the caliper down and remove both brake pads.
With the pads removed, close the caliper and loosely fit the bolt. This helps with handling at the next stage.

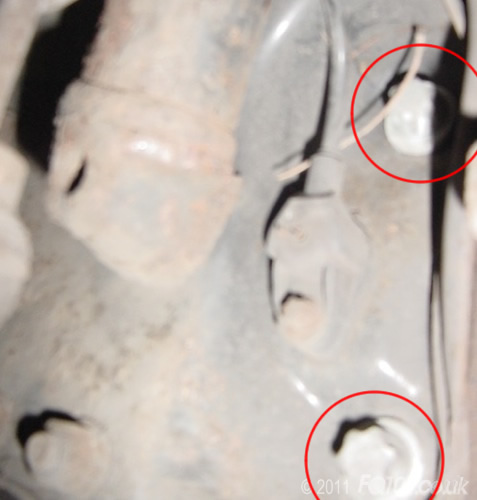
On the back of the hub, there are 2x E18 bolts holding the brake caliper in place. Remove both of the these but make sure the caliper doesn't fall.
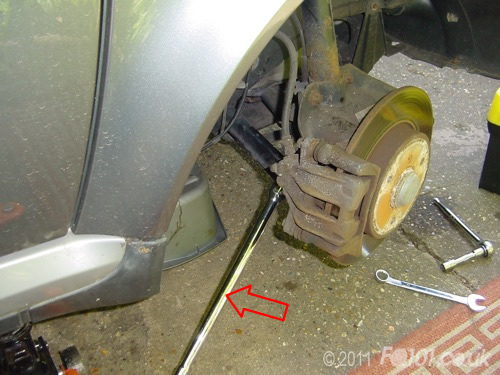
You may find that these bolts are held very tightly. To help, rotate the steering wheel such that the wheel hub points inwards. You will then be able to use a breaker bar and clear the wheel arch as shown below:
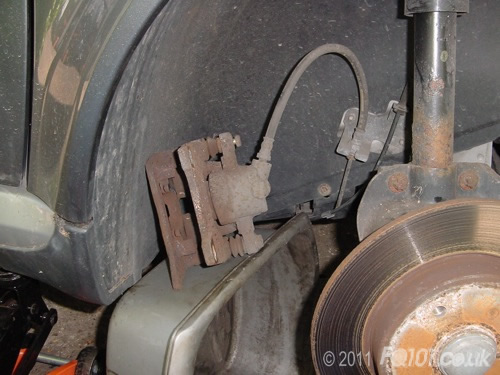
Place the caliper on something to avoid straining the brake line.
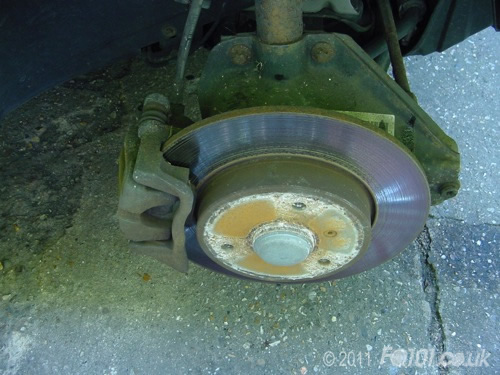
Remove the TX30 bit from the front of the brake disk:
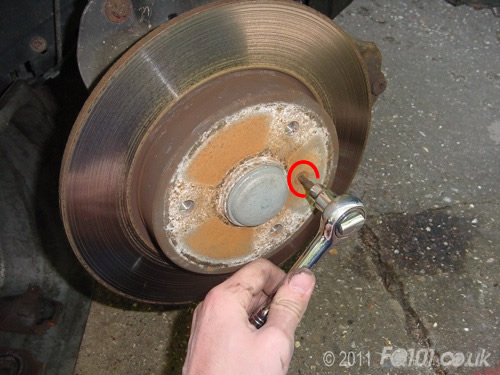
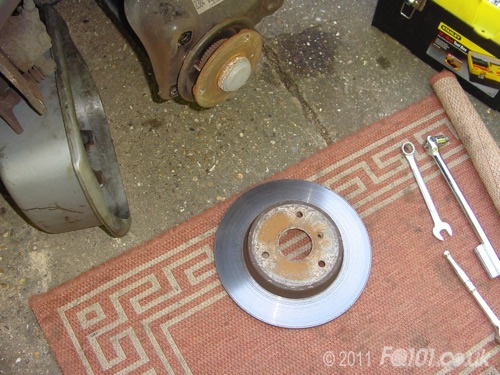
The disk may need some persuasion in order to remove it from the hub. We find that a few firm taps to the centre of the disk will free it. Do not hit the friction surface!
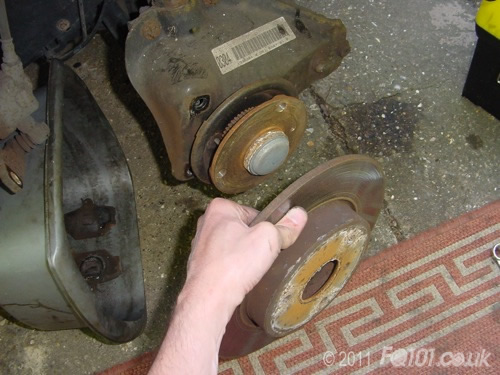
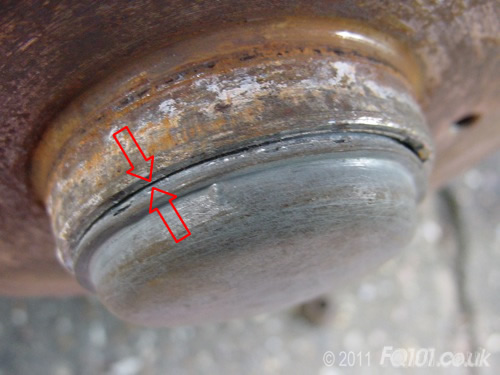
With the disc free, you now need to remove the dust cap in the middle of the hub. We found that an old screwdriver worked well. Tap the screwdriver in the location as shown. Rotate the hub and repeat. Don't concentrate on the same spot for too long otherwise you will potentially deform the cap.
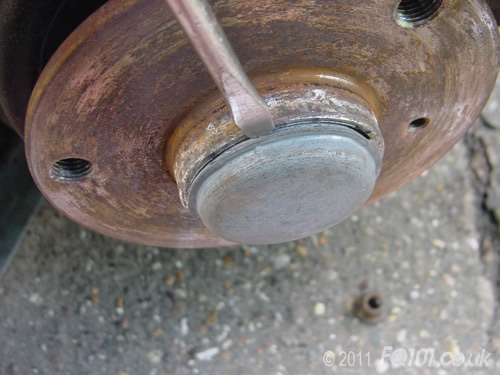
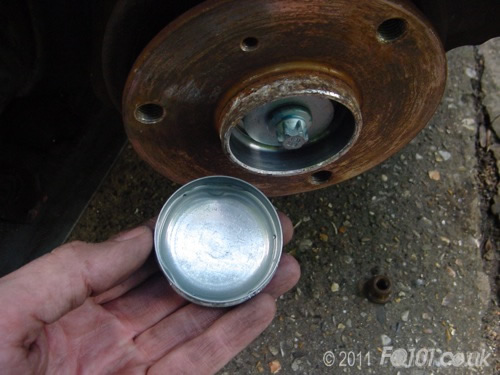
You will see that the cap starts to come free from the hub.
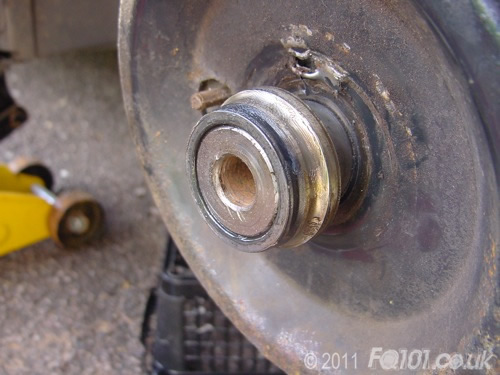
Eventually it will pop out, revealing the hub bolt behind.
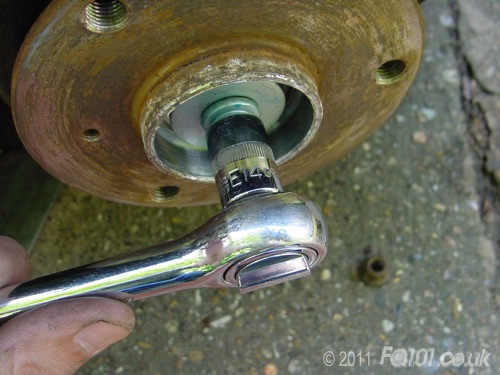
Use an E14 socket to remove this bolt. You'll probably need a long bar as this bolt is held on very tight.
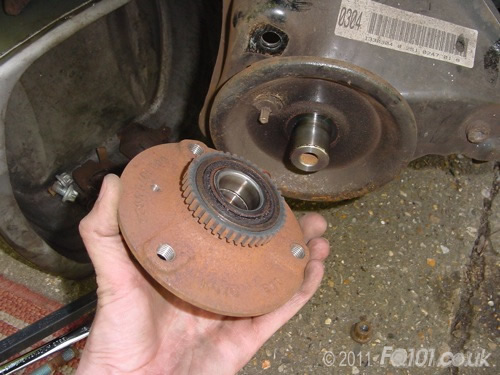
Pull the hub assembly free from the car.
If your bearings have become bad then the hub might not slide off the shaft easily. Should it become stuck then try pushing the hub back on and oiling the shaft. If it still doesn't come off then pull the hub sharply. You will probably find that it will split, leaving the rear half still on the car. If this happens you will have to carefully cut the remainder off the car will an angle grinder. Be careful not to damage the shaft underneath. Clean up the shaft with some fine glass paper to remove the ridge that the failing bearing would have left. If you don't do this then the new bearing will become stuck when you put it on!
Remainder of the bearing on the shaft:
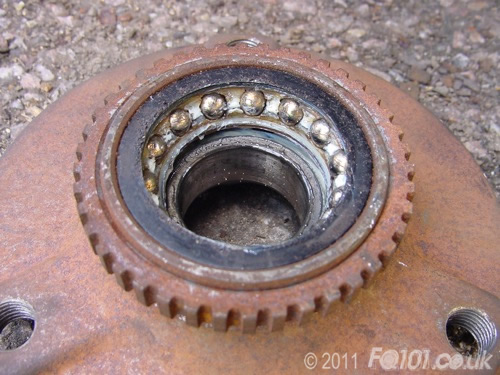
Exposed bearings on the back of the hub assembly:
With the shaft cleaned up, take your new hub and fit. Re-assembly is the reverse of removal.
Torque settings:
- E14 hub bolt to suspension shock absorber: 120Nm.
- TX30 brake disk securing bolt: 6.5Nm.
- E18 brake caliper bolt to hub: 115Nm.
- 13mm hex caliper closing bolt: 32Nm.
- Wheel bolts: 110Nm.
Note: smart advise replacing the hub bolt as it is a 'stretch bolt'. We found that the old one can be reused torqued up to 120Nm + 90°.