Click here for a full list of all the lamps on a fortwo.
To change the lights through the service grille.
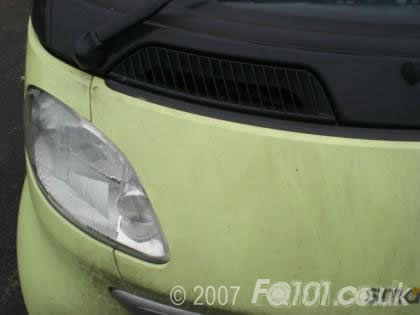
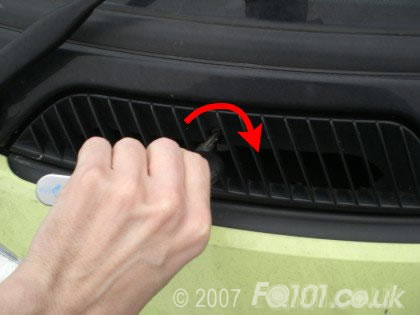
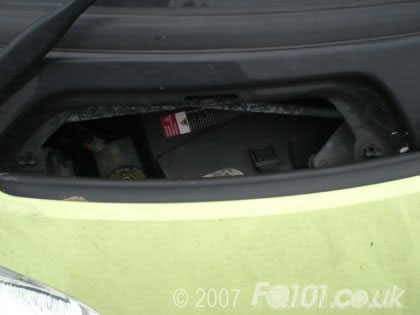
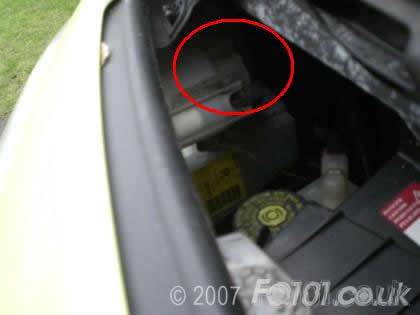
Open (and remove) the service grille using the key, if changing the nearside unit, remember to unclip and pull out the air duct.
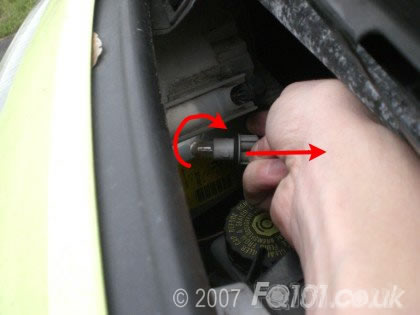
The indicator bulb is mounted on the inner edge of the lamp.
Twist the indicator bulb in a clockwise movement to release.
Pull the bulb holder free.
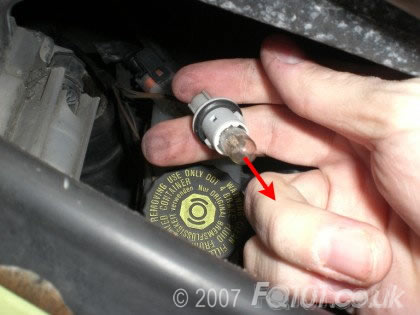
Replace the bulb (a 501 fitment) by simply pulling the bulb out and pressing into place a new one.
Tighten the bulb holder back into the lamp by turning anti-clockwise.
Replacing the main/dipped beam...
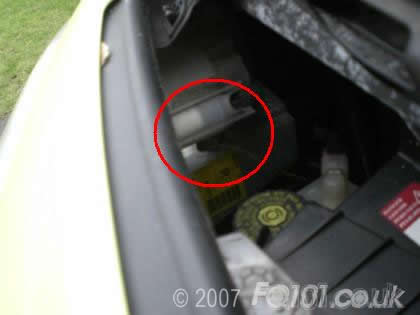
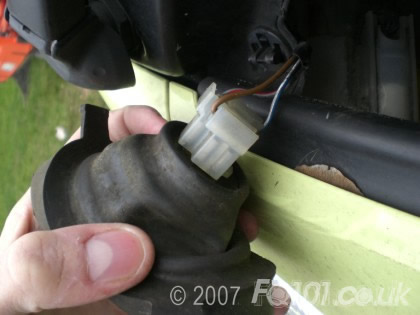
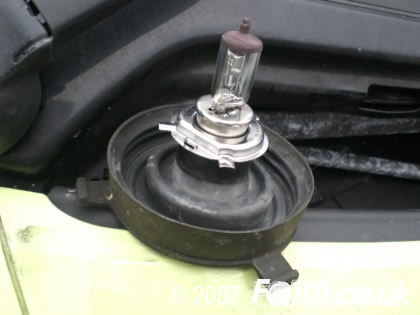
The headlamp bulb here is quite tricky, located at the back of the unit, it is sealed with a rubber grommit style cap.
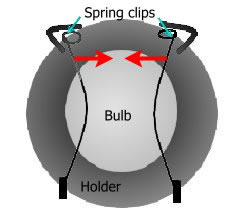
You have 2 options, you can peel the cap off in situ, and undo the bulb retaining springs with the bulb and wires in situ, or undo the wires, then the grommit, then the springs.
We found it easier to lift the grommit at the sides and reach under it to unhook the metal retaining springs.
The remove the springs they need to be 'pinched' in together, then released.
You can then pull the bulb, grommit and wiring back through the service hatch.
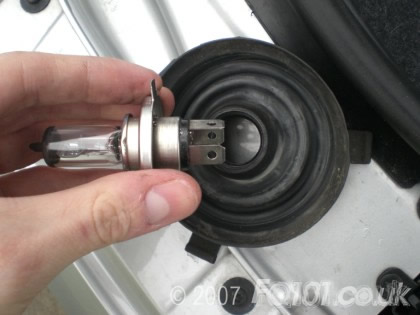
The mk1-5 cars use a H4 bulb which is a combined dipped and main beam bulb.
This means that there are 3 connections going into the bulb itself.
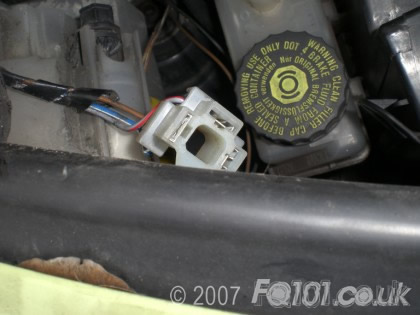
Unplug the wires from the back of the bulb.
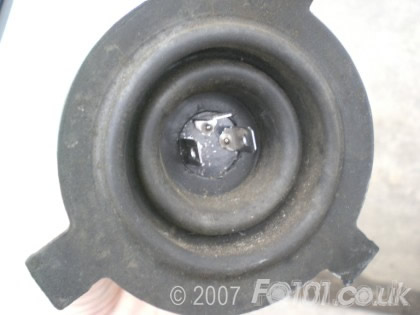
The rubber grommit is just a push fit onto the collar of the bulb, so simply push out the old bulb and slip the grommit back over the new one.
Plug the wires back in and feed back through the service vent.
You will need to reseat the bulb (the flat part of the bulb sits at the bottom (you can see it through the lens), then you need to pull up the grommit and refit the springs by squeezing them in and pushing into the lamp, so they can hook onto the catches.
Finally check that the rubber cap is seated on the back of the lamp unit correctly.