This pod upgrade is designed for use in LHD cars only, fitment to RHD cars can be made, but it requires modification and leaves bigger gaps.
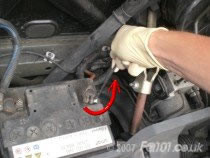
First step is to disconnect the battery.
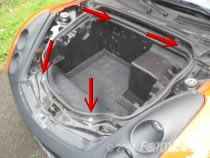
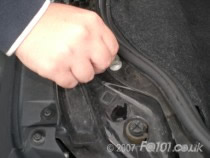
Remove the bonnet bin using a coin to undo the screws.
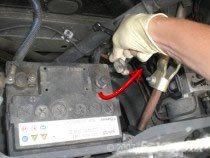
Use a 10mm spanner to remove the negative battery connection.
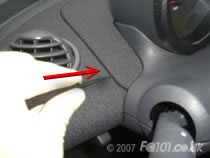
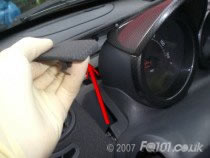
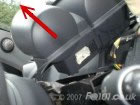
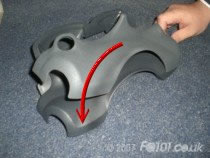
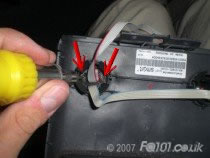
Use a thin screwdriver to lift up the cover at the back of the main instruments.
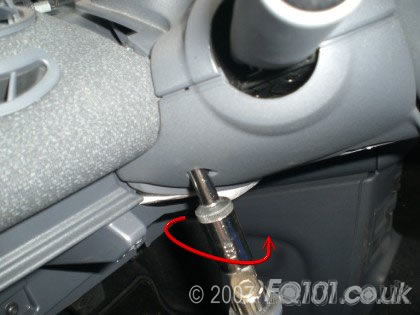
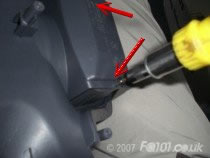
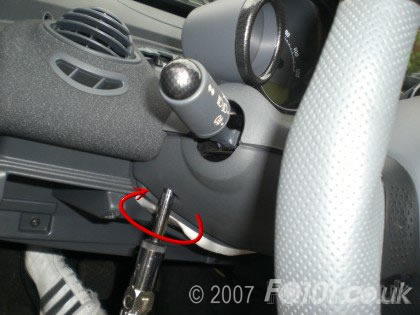
Unscrew the 4 T10 Torx bits underneath the steering column.
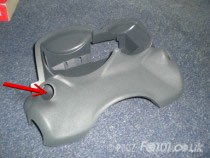
Separate both halves of the covers.
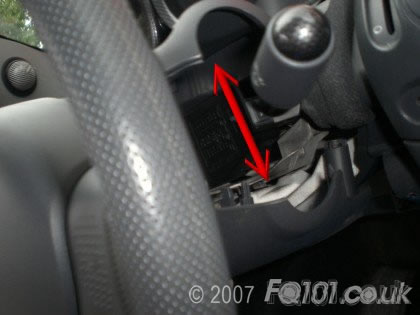
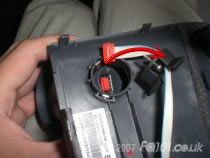
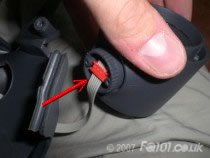
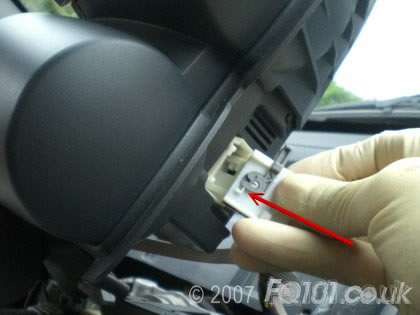
Unplug the speed unit by pushing the little grey lever on the connector.
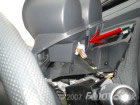

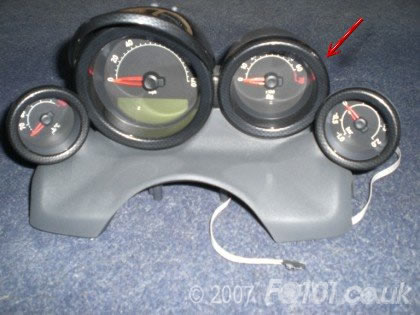
Remove the speedo unit from the dash by removing the 2 T10 torx screws.
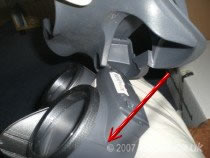
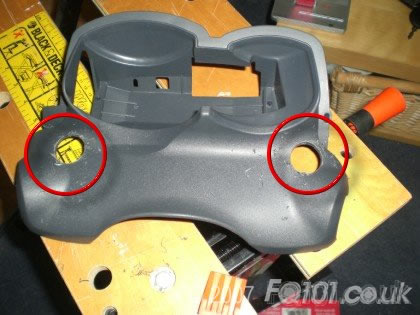
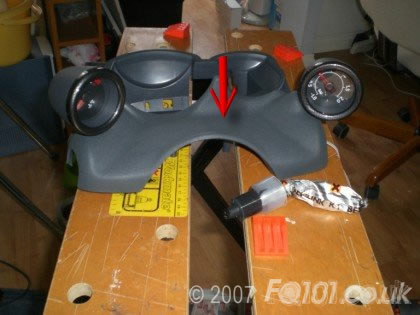
Take the new michalak pods mount and place over the original dash. Mark through the mounting holes a centre point for you to drill into.
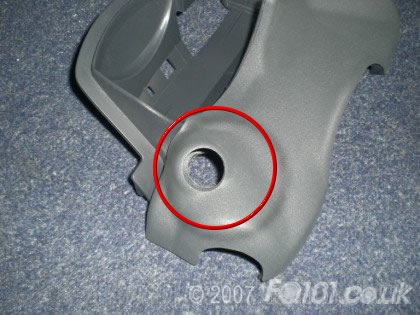
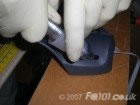
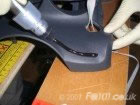
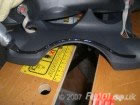
Take the michalak mount off, and using a 25mm hole cutter, cut into your original mount.
IMPORTANT: make sure you are happy with your point location as the next phase is irreversible!

You can just check your alignment by placeing the mounts on top and making sure the holes line up.
Now you need to remove the pods from their existing mount.
Use a T8 Torx bit to remove the pods from their mount.
Because the 'new' distance between the pods is greater, you must extend the wiring between the two pods.
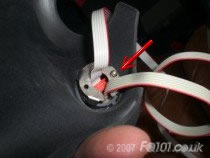
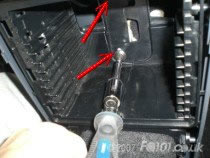
Use a T6 torx bit to remove the cover from the front of the pods.

Remove the PCB and swap for a longer cable (about 250mm).

Take the new pod retaining mount, take the temperature pod, place through the michalak mount and secure onto the new retaining mount.

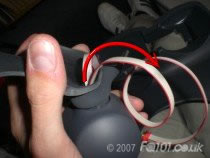
Extend the new length of wire under the michalak mount and poke through the other hole.
This can be clipped onto the PCB of the boost gauge.
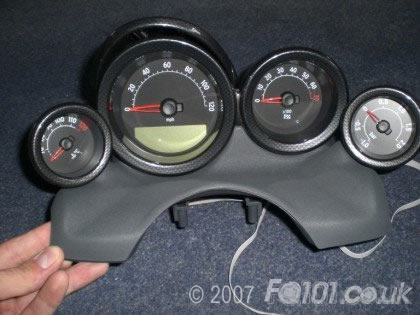
Rest the michalak mount on the original mount and add in the instruments.
NOTE: Ensure at this stage that you are happy with the layout.
Remove the instruments and the michalak mount.
Using silicone sealant (supplied), very carefully run a bead around the edge of the original mount.
Carefully place the michalak mount onto the original and squeeze together, REMEMBER to feed the new pods data wire through the original mount too.
Once dry, secure the instrument cluster back onto the original mount using the original T10 screws.
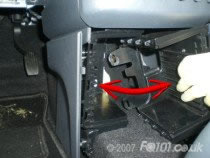
To find the data wire to power to pods, remove the ashtray, drawer, and any CD trays and remove the 2 T30 bolts holding the centre console together. Then separate the 2 halves by pulling outwards.
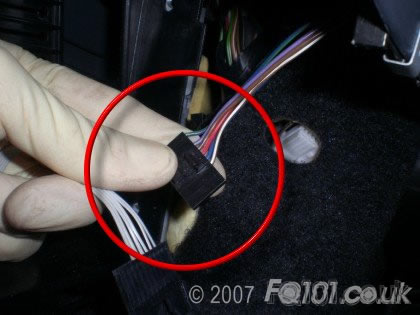
The cable should be located (possibly taped up) behind this console - If you have the trip computer, you do not need to find this cable, but you plug the pods directly into the computer.
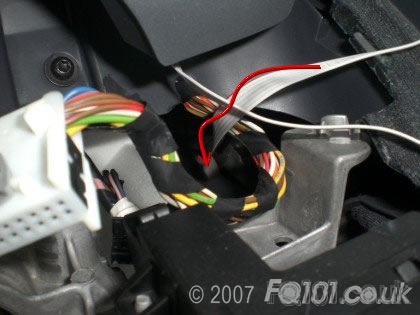
Feed the data wire from the pods down through the steering column chassis and under the dashboard.
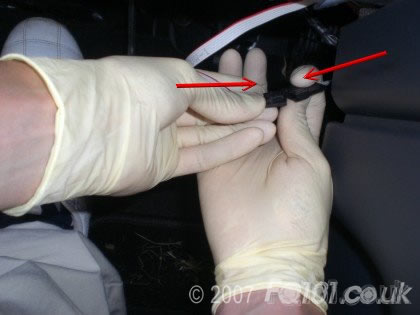
Connect the pods into the data wire.
Refit the 2 halves of the centre console.
Plug in the speedo unit.
Secure the dashboard back with the 4 T10 screws.
Reconnect the battery, and you're ready to go!
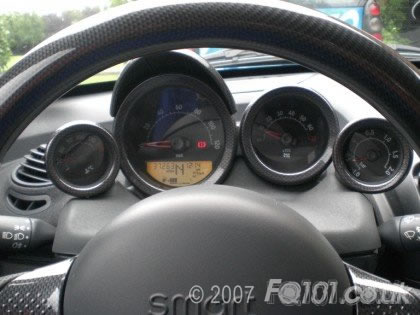
Just switch on the lights to ensure that they illuminate correctly.