Lambda sensors don't seem to last very long on a smart, it is usually the exhaust lambda that goes so we've added this guide to help when it does actually fail.
Disconnect the battery while changing the sensor, this will clear the ECU of its codes and re-learn with the new sensor.
To gain access the lambda sensor you need to remove the rear panel, to do this please follow one of the guides:
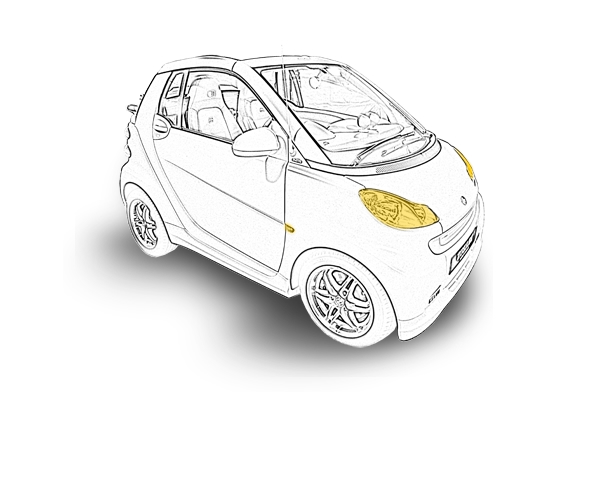
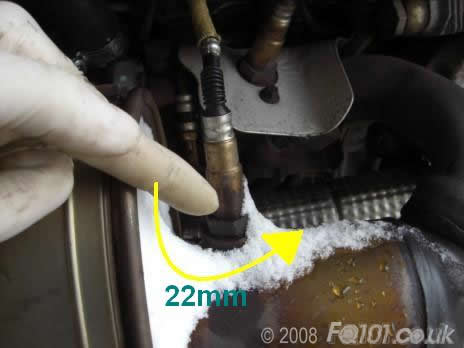
With the panel removed you are looking for the sensor circled below in yellow.

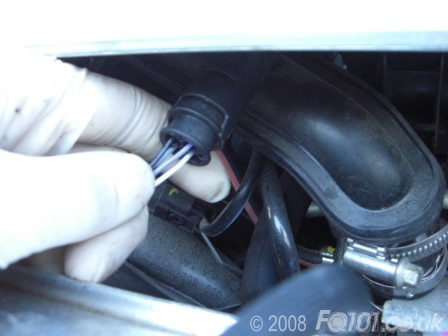
Follow the lead back up behind the trid and unplug the sensor.
Using a 22mm spanner turn the sensor anti-clockwise to remove it from the car.
Installation is reverse of removal ensuring you apply a small amount of 'high temperature anti-seize compound' to the thread of the new sensor.
Torque to 35nm.