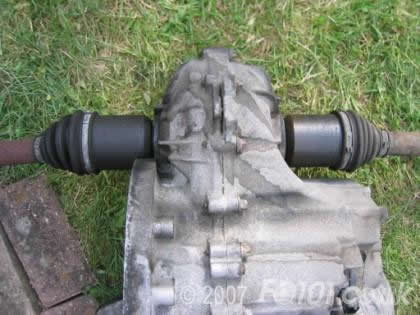
Whether upgrading or fixing the gearbox, the removal can be done leaving the engine in situ.
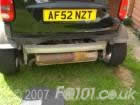
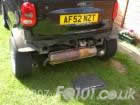
Remove the rear panel, crash bar and the exhaust.

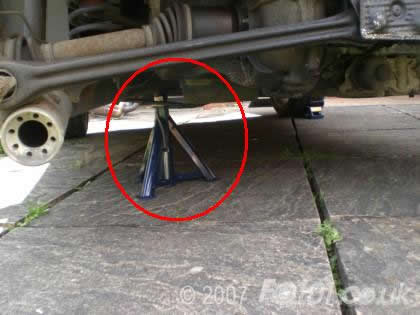
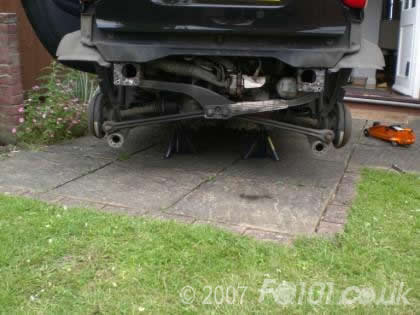
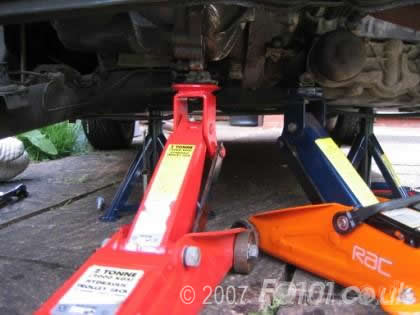
Leaving the car in 'Neutral' and the handbrake ON, chock the front wheels, jack up the rear, remove the wheels and place axle stands under the 'front' side of the engine subframe.
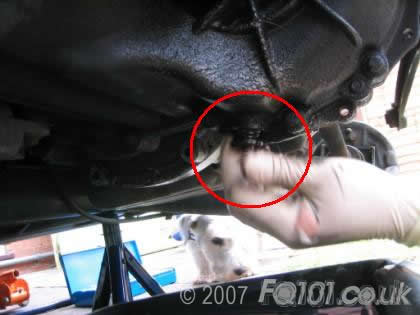
Drain the gearbox oil.
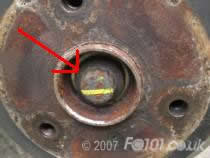
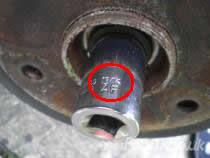
Remove the drive-shaft hub bolts; a 13/16AF imperial socket fits this perfectly. A 21mm socket will also fit but is slightly too large.
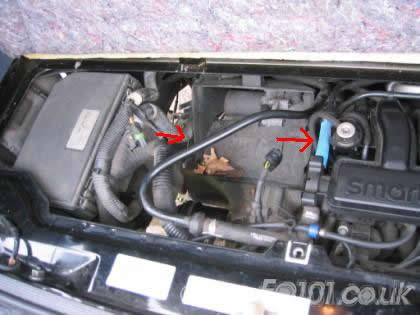
Remove the intercooler pipes, from both the turbo and the throttle body.
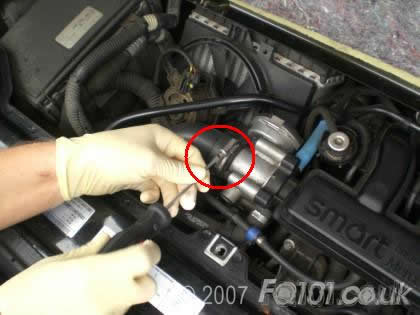
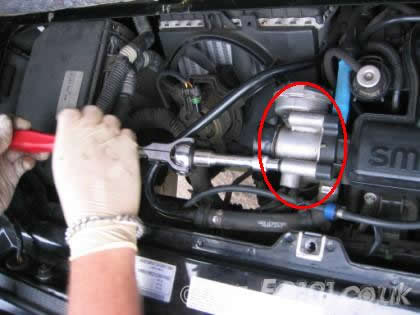
Unplug and remove the throttle body. It is secured using 4x E10 bolts.
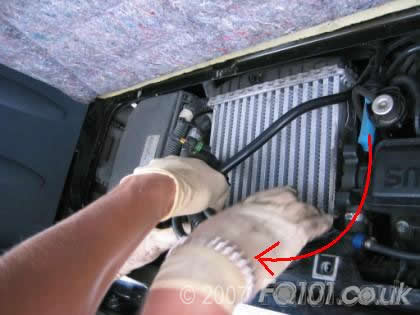
Unplug and unclip the intercooler fan. Remove the plastic retainer and squeeze in the clip at the top, rock the fan forward and lift out of the clips at the bottom.

The intercooler itself is only secured and mounted to the ducting by 4 clips on the side. You need to carefully press into the hole in the middle of the mount at each clip to release it.

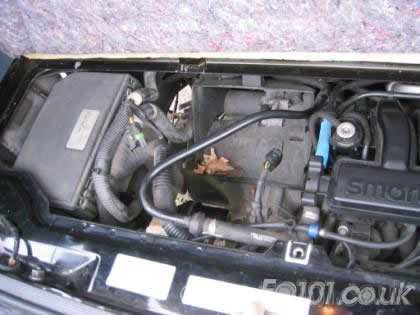
The intercooler needs to be lifted out; swing it up from the bottom first.
It should now be free to remove.
The intercooler duct can be quite tricky to remove, although there are only 2x E8 bolts securing it.
The duct is made in 2 pieces, clipped together using metal tabs. Use a thin watchmaker's screwdriver to prise these off. There is one on either side.
With the clips off, there is also a 'vertical' strip meaning the lower half needs to be pulled 'down' from the top half, so the tab separates.
The top half should now lift out of the engine bay, and with a little persuasion the lower half comes out underneath the gearbox.
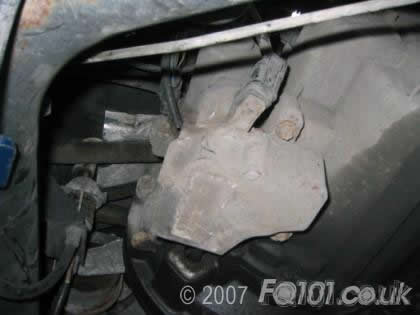
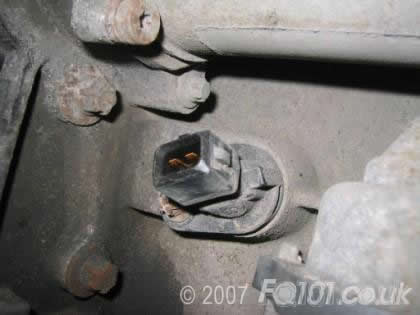
Unplug all of the wires going into the gearbox: there are 4 connections.
- Actuator
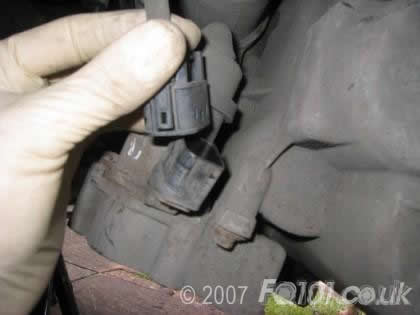
- Gear position sensor
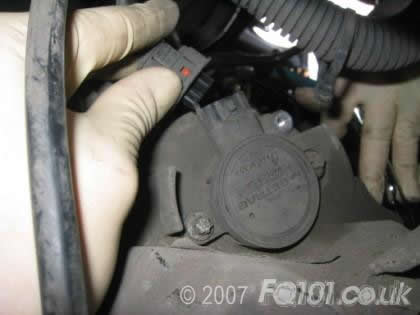
- Gear selector motor
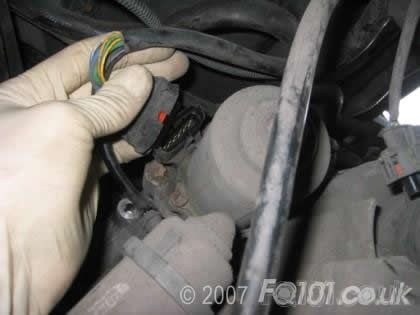
- Speed sensor
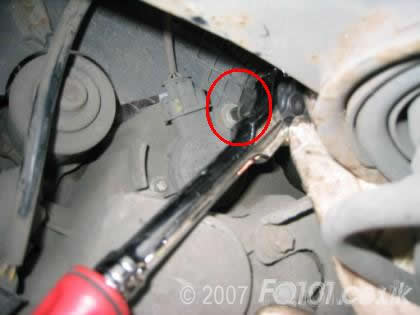
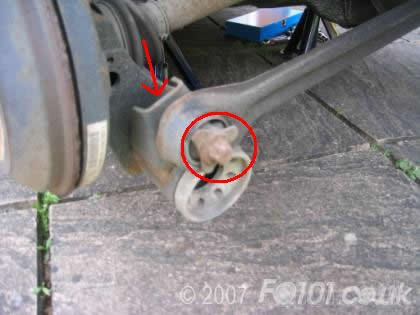
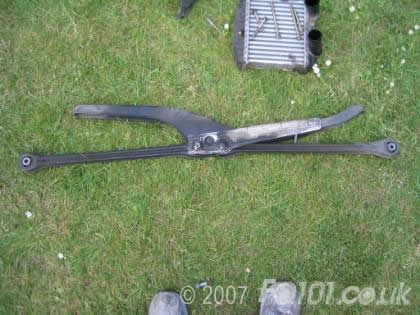
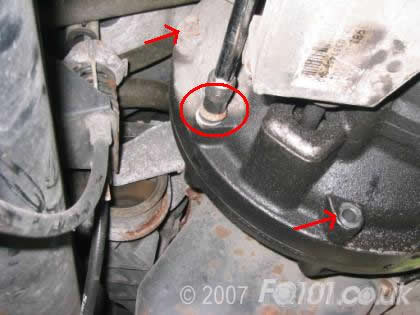
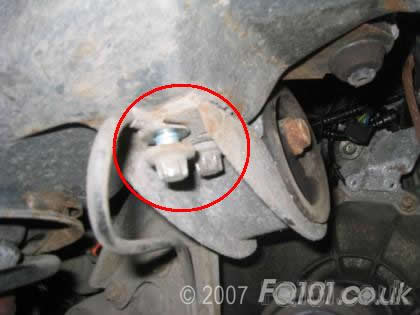
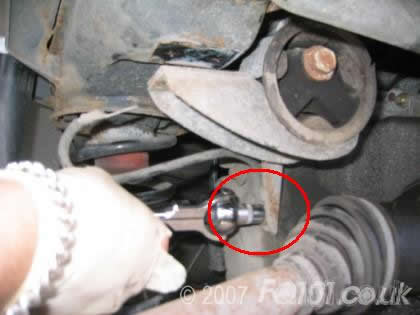
Remove the tie bars. They are secured (and will be tensioned) with 2x E16 bolts and 2x 18mm nuts.
Note, if you do not have one, please buy an 18mm ring spanner, as you will not be able to fit a socket on the back of the nut due to space constraints.
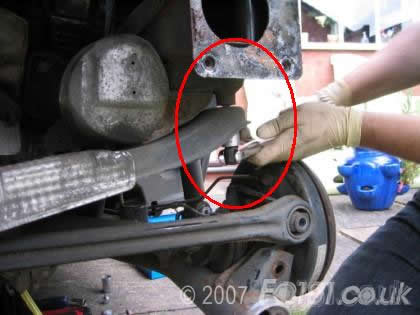
For ease of access we also removed the cross member, secured to the chassis rail with 2x E18 bolts.
Support the engine and gearbox using 2 jacks, one under the engine, the other under the gearbox.
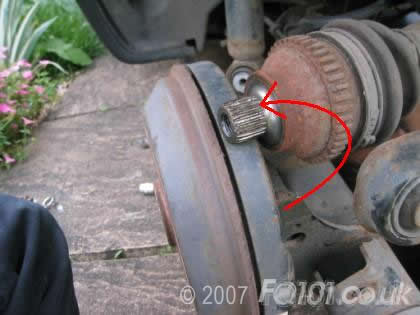
Pull the driveshafts out of the hub. You can get away with only removing the near-side driveshaft, as the offside will come out when you remove the gearbox.
Undo the 2x E12 bolts on the TIK bracket.
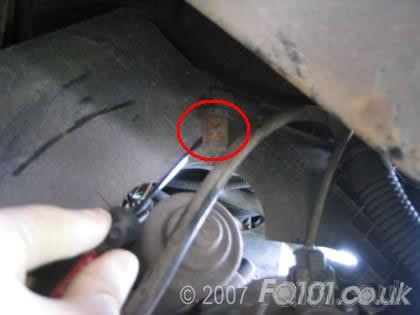
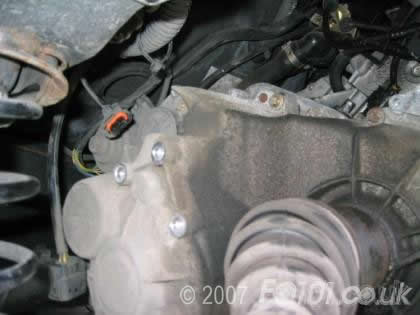
The gearbox is held to the engine with 9x E14 bolts of varying lengths.
The two long ones and a medium one can be found on the top of the gearbox:
The rest of the medium bolts can be accessed from underneath:
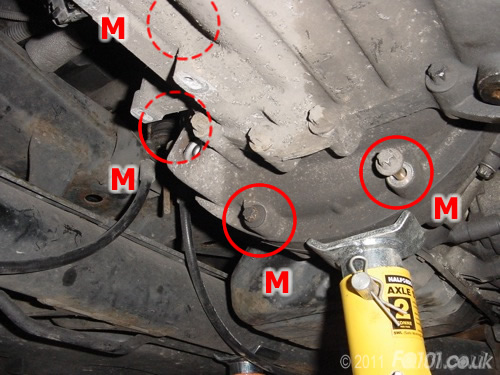
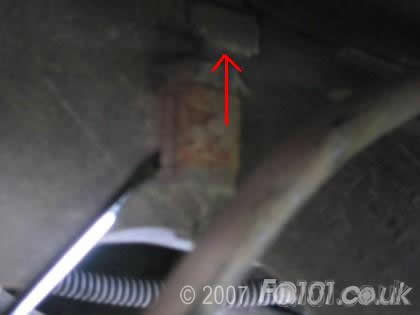
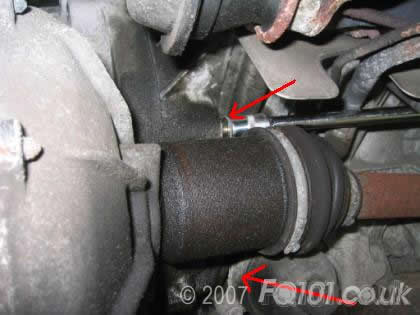
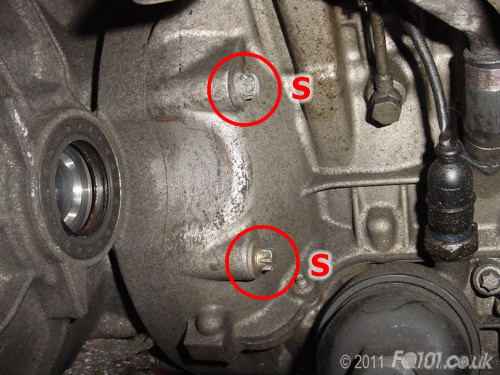
The final bolts are the short ones which bolt to the gearbox from the engine side. In the following picture, the driveshaft has been removed for clarity:
The Gearbox will still be supported on the engine by both the input shaft and the locating lugs on the block.
Remove the Gearbox mount from the subframe using 2x E16 bolts.
To give you that little bit of extra space, also remove the mount from the gearbox itself: 3x E14 bolts.
The gearbox is now only supported on the jack, the input shaft and the locating lugs.
With 2 people, one needs to support the gearbox from underneath, whilst the other separates the gearbox from the engine, by 'sliding' the gearbox towards the nearside.
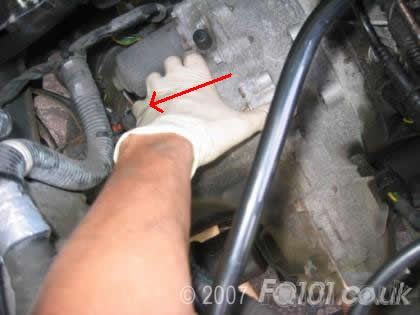
To clear the chassis rail you can jack up the engine so that it pivots the 'flywheel end' down, lowering the gearbox.
Once free, you can lift the gearbox clear of the car, ensuring that the remaining offside drive-shaft is clear, and that you haven't missed any cables or earth straps.